Exploring Datamind.click: Your Gateway to AI and Technology
Welcome to the Leonardo.Ai Canvas Editor guide! This step-by-step walkthrough will help you unlock the full potential of Leonardo’s powerful AI Canvas Tool. Whether you’re a beginner or a seasoned designer, this guide will teach you how to create, edit, and refine images using advanced AI technology.
What is the Leonardo.Ai Canvas Editor?
The Leonardo.Ai Canvas Editor is designed for seamless image creation and editing. Using cutting-edge AI techniques like inpainting and outpainting, this tool enables you to adjust, remove, or add elements to your artwork effortlessly.
Key Features of Leonardo‘s Canvas Tool
The canvas editor offers a range of features that help you bring your creative vision to life. Below are the primary tools and their functionalities:
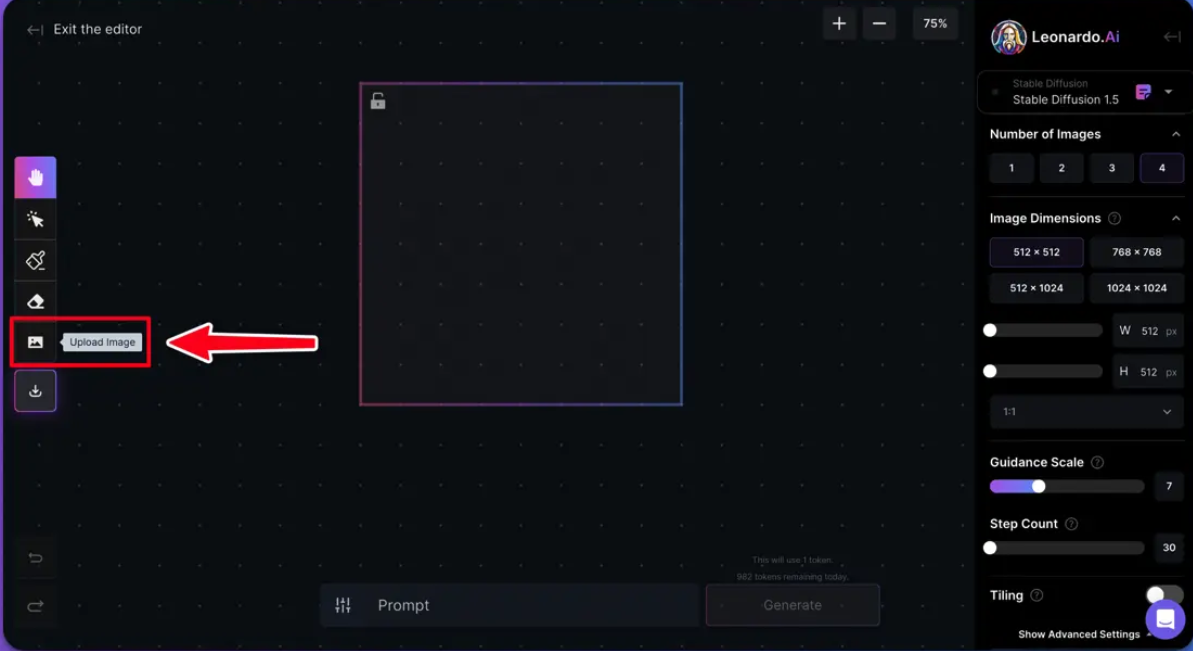
Uploading an Image
To get started, simply click the ‘Upload Image’ button. Once uploaded, your image will appear on the canvas, ready for editing.
Selecting & Moving Elements
After uploading an image, you can select and move elements around by clicking the ‘Select’ button. Drag and drop the element to your preferred position on the canvas.

Panning & Navigating the Canvas
The ‘Pan’ tool allows you to move around the canvas. Activate the tool and click and drag on the canvas to navigate different areas of the image.
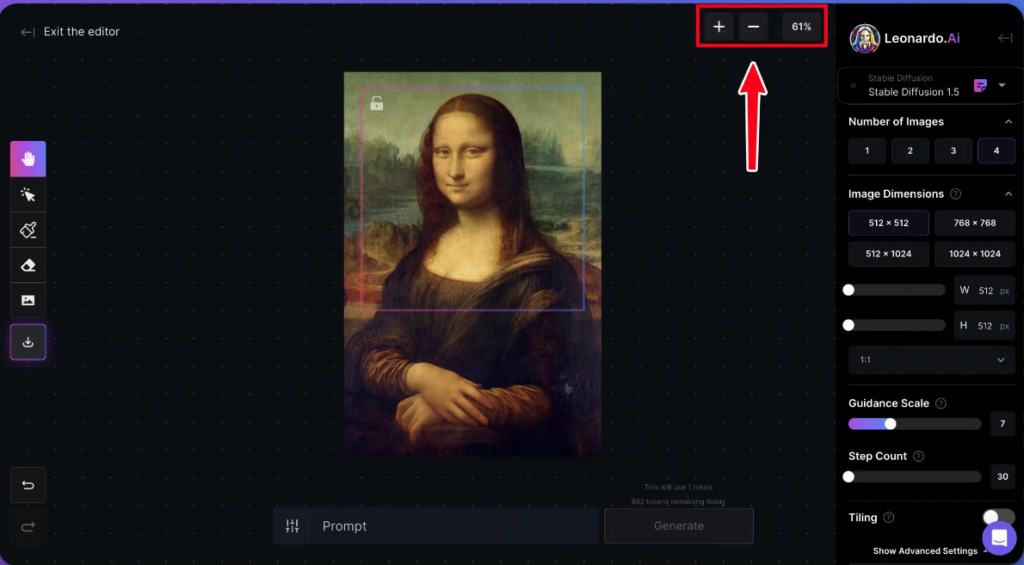
Zooming
Use the ‘Zoom’ buttons to zoom in and out of the canvas. The ‘+’ button zooms in, while the ‘-‘ button zooms out. Alternatively, use your mouse scroll or trackpad to control the zoom.
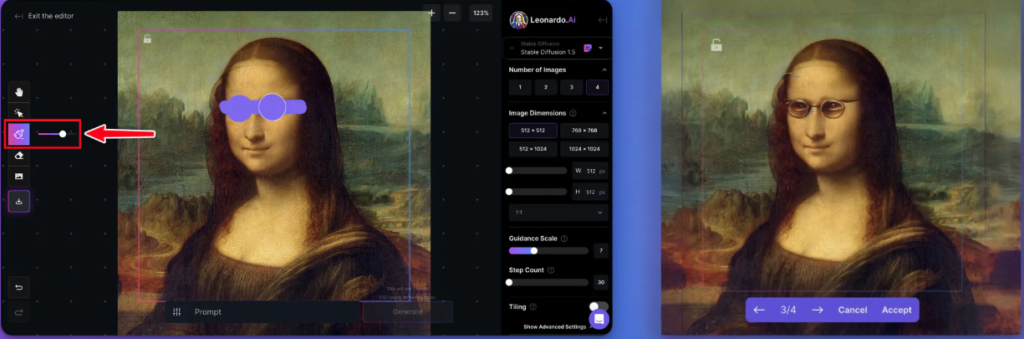
Drawing a Mask
The ‘Draw Mask’ tool is used to paint over areas of the image you’d like to modify. After drawing a mask, enter a prompt (e.g., “add sunglasses”) and click to regenerate that section. The mask keeps key elements intact, such as color and style, while applying the desired changes.
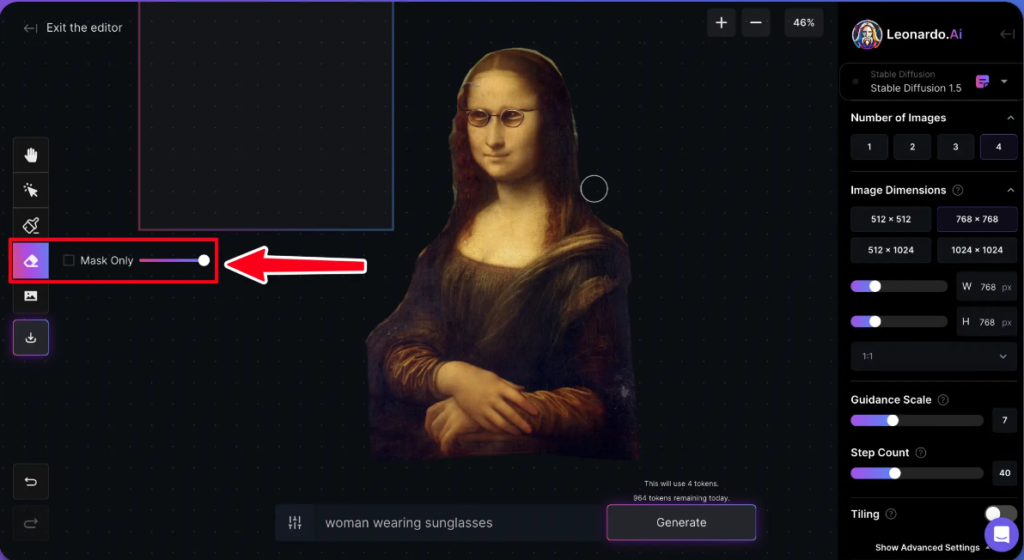
Erasing
Click the ‘Erase’ button to remove unwanted parts of the image. After erasing, you can regenerate the erased area with a new prompt to seamlessly blend it into the rest of the artwork.
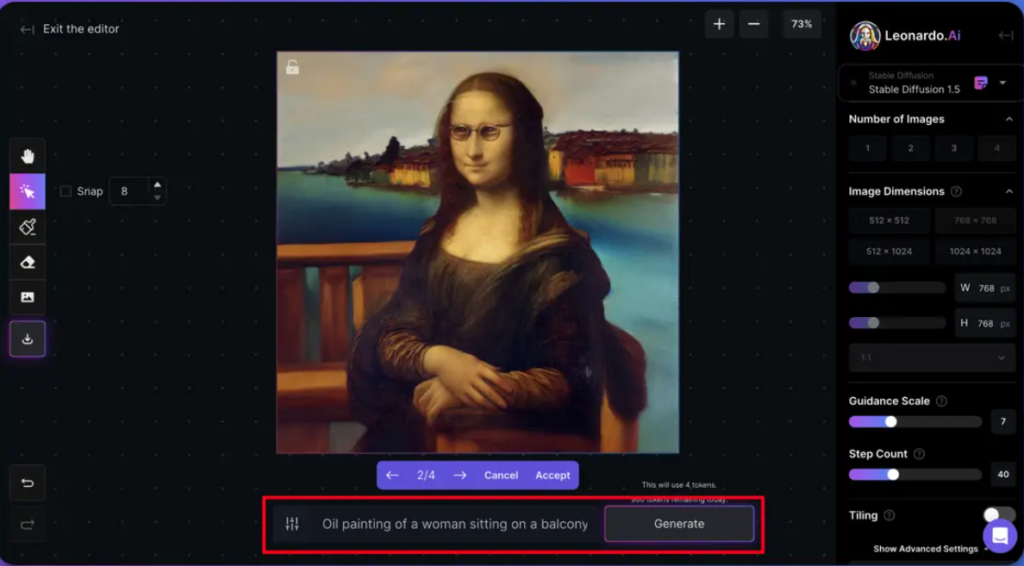
Prompting & Generating New Content
Enter a detailed prompt into the ‘Prompt’ field and click ‘Generate’. The more specific your prompt, the more accurate the generated image will be. You can also use a Negative Prompt to exclude certain elements from the result.
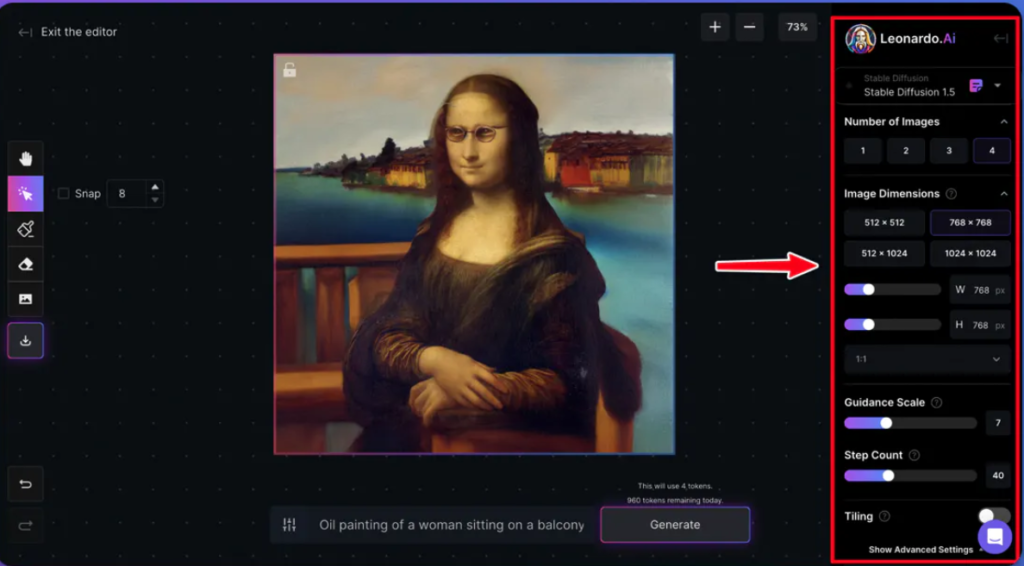
Controlling Parameters
The Control Panel on the right side of the canvas lets you fine-tune settings like the model type, image dimensions, guidance scale, and more. Adjust these settings to refine your output. For more details, check out our FAQ and Guides page.
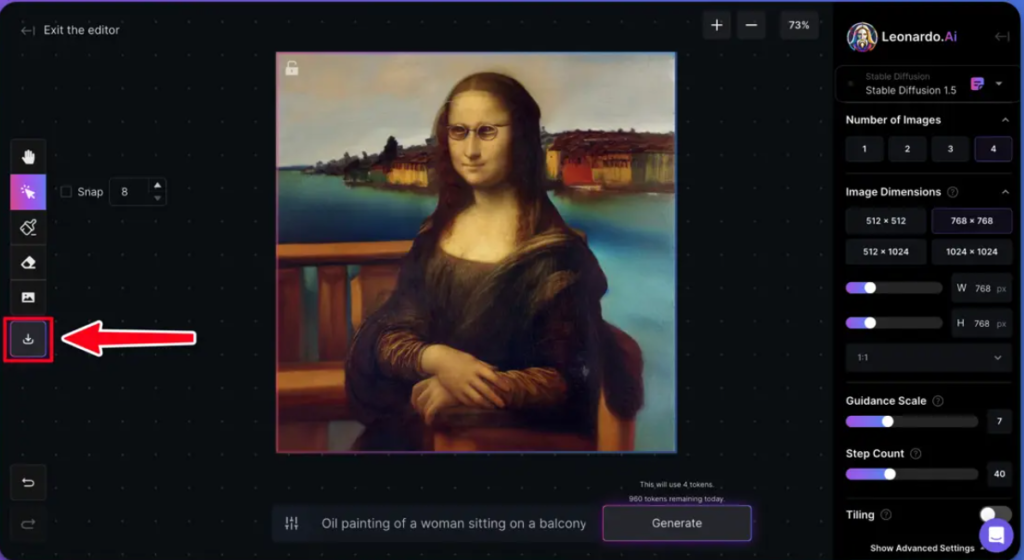
Saving & Downloading Your Artwork
Once you’re satisfied with your creation, click the ‘Download Artwork’ button to save it to your computer.
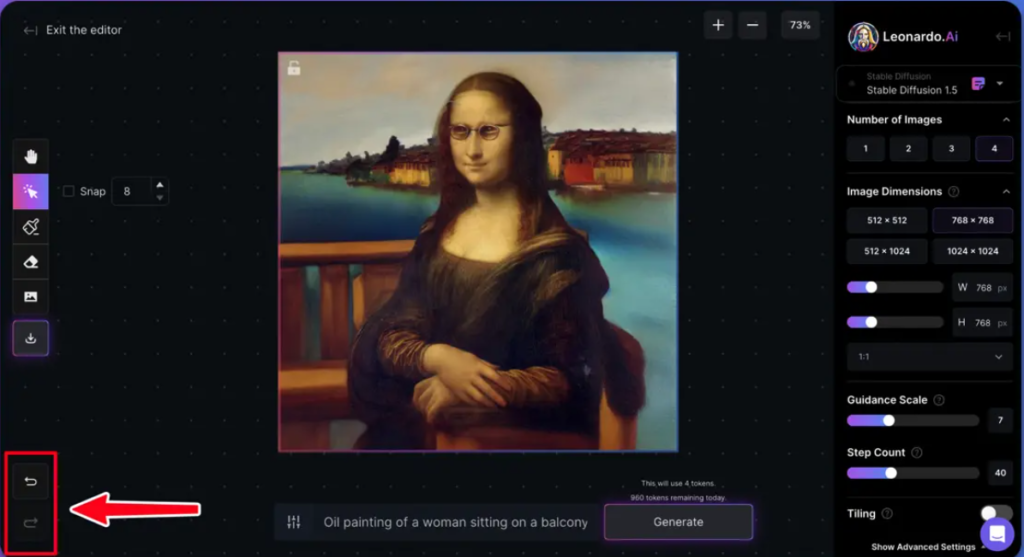
Undo & Redo Actions
Made a mistake? No worries! Use the ‘Undo’ and ‘Redo’ buttons at the bottom-left of the canvas to revert any changes.
Tips for Optimizing Your Workflow
- Use Clear Prompts: Be as specific as possible when entering prompts. Full sentences often yield the best results.
- Experiment with Parameters: Play around with settings like step count and guidance scale to see how they affect your images.
- Utilize the Masking Tool: Masking allows for precise adjustments without impacting the entire image.